Classic Lashes
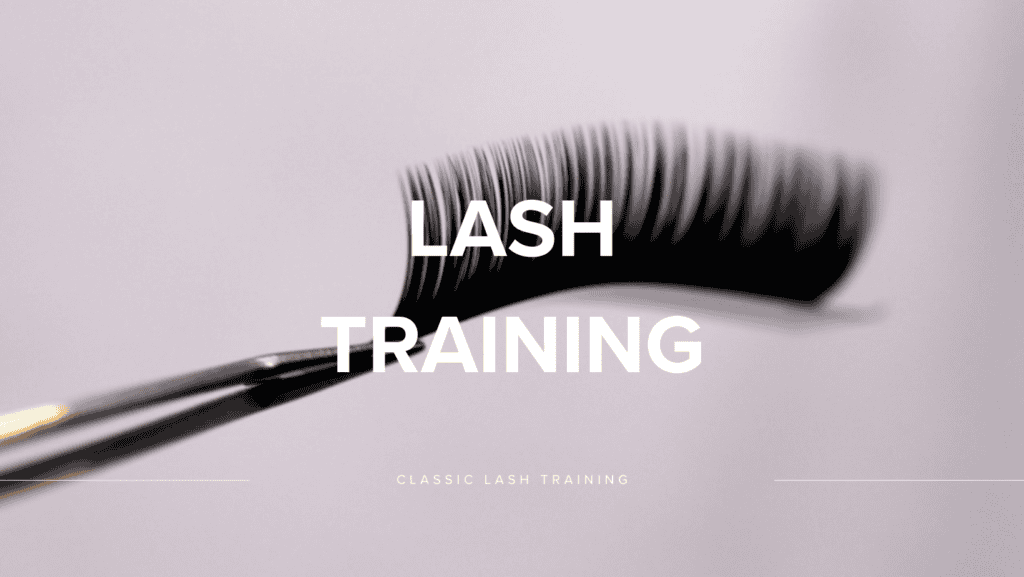
Lash extensions enhance the length, curl, fullness, and thickness of natural eyelashes. Among the different types of lash extensions, classic lash extensions are the most traditional and widely used for beginner Lash Artists. This blog post will cover the essentials of understanding classic lash extensions, mapping and designing classic lash sets, and hands-on practice for classic lash application. Whether you’re a beginner or an experienced lash artist looking to refine your skills, this guide will provide valuable insights.
Understanding Classic Lash Extensions
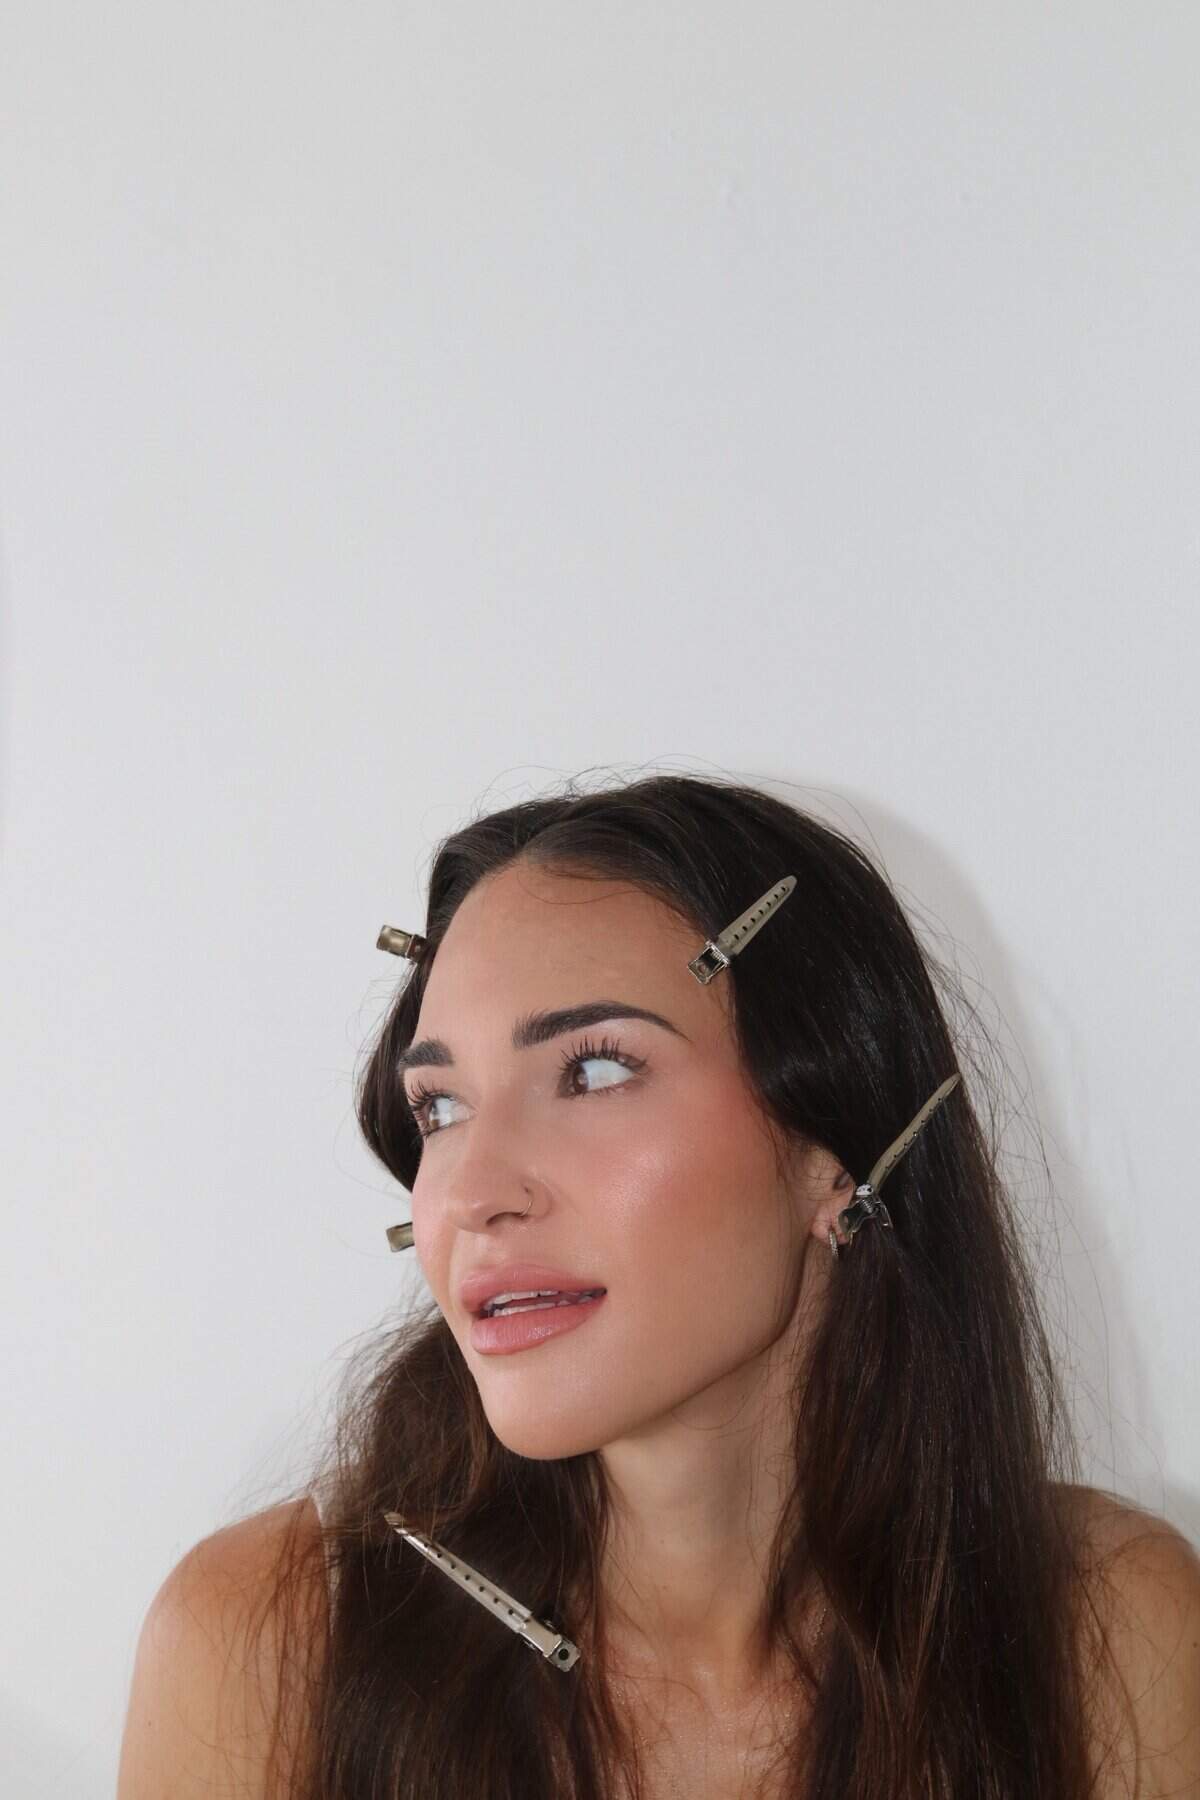
Classic lash extensions involve the application of a single extension to each natural lash. This method is perfect for clients who want a natural and elegant look. Classic lashes are ideal for clients who already have a good amount of natural lashes but want to add more length and a subtle boost in volume.
Benefits of Classic Lash Extensions
- Natural Look: Classic lashes offer a more natural and less dramatic look compared to volume lashes.
- Customizable Length: You can choose different lengths to achieve the desired look for your client.
- Cost-Effective: They are generally less expensive than volume lashes, making them an affordable option for many clients.
- Easy Application: They are generally the first technique artist learn and are simple to apply.
Materials and Tools
To apply classic lash extensions, you will need:
- High-quality lash extensions (synthetic, mink, or silk)
- Adhesive
- Tweezers (straight and curved)
- Lash brush
- Primer
- Lash cleanser
- Eye pads
- Tape
- Lash Bonder
These products are great to start with because they are affordable and can easily be purchased on amazon. Upgrade and find your favorites to invest more in as you improve your technique.
Mapping and Designing Classic Lash Sets
Mapping and designing lash sets are crucial steps in achieving a beautiful and cohesive look. Lash mapping involves creating a plan for the placement of lash extensions to ensure symmetry and consistency.
Lash Mapping Techniques
- Eye Shape Analysis: Determine your client’s eye shape (round, almond, hooded, etc.) to tailor the lash design accordingly.
- Lash Length and Curl Selection: Choose appropriate lengths and curls to complement the client’s natural lashes and desired look. Common curls include J, B, C, D, and L.
- Creating a Map: Use a lash map to outline the lengths and curls you will use for different sections of the eye. For example, you might use shorter lengths (8-9mm) for the inner corners, medium lengths (10-12mm) for the middle, and longer lengths (13-15mm) for the outer corners.
Designing the Lash Set
Designing a lash set involves determining the overall look you want to achieve. Some popular styles include:
- Natural: Lashes follow the natural lash line, with a gradual increase in length towards the outer corners.
- Cat Eye: Longer lashes are applied to the outer corners for a more dramatic, elongated effect.
- Doll Eye: Lashes are longest in the center of the eye, creating a wide-eyed, youthful look.
Practice is essential to mastering classic lash application. Here’s a step-by-step guide to help you get started:
Preparation
- Sanitize Tools and Work Area: Ensure all tools are sanitized, and your work area is clean.
- Client Consultation: Discuss your client’s desired look and any allergies or sensitivities they might have.
- Cleanse Lashes: Use a lash cleanser to remove any makeup, oils, or debris from the natural lashes.
- Apply Eye Pads and Tape: Place eye pads under the lower lashes to protect the client’s skin and prevent lashes from sticking together.
Application Process
- Prime the Natural Lashes: Use Micro-swabs or Lip Applicators to apply lash primer to the lashes.
- Isolate Natural Lashes: Use curved tweezers to isolate a single natural lash.
- Pick Up the Extension: Use straight tweezers to pick up a lash extension from the strip.
- Dip in Adhesive: Dip the base of the extension into the adhesive.
- Apply the Extension: Place the extension onto the isolated natural lash, 1-2mm from the lash line, and hold for a few seconds to allow the adhesive to bond.
- Repeat: Continue isolating and applying extensions to each natural lash until the desired look is achieved.
Aftercare and Maintenance
- Avoid Water and Steam: Advise your client to avoid water and steam for the first 24-48 hours to allow the adhesive to fully cure.
- Gentle Cleansing: Recommend a gentle lash cleanser to keep the lashes clean without damaging the extensions.
- Regular Fills: Encourage your client to schedule regular fill appointments every 2-3 weeks to maintain the look.
Troubleshooting Common Issues
- Extensions Not Sticking: Ensure the natural lashes are clean and free of oils, and check the humidity and temperature in your workspace.
- Lashes Clumping Together: Proper isolation is key. Take your time to isolate each natural lash before applying the extension.
- Extensions Falling Off: Check the adhesive quality and ensure you’re using the right amount. Also, educate your client on proper aftercare.
By following these steps and continuously practicing, you’ll be well on your way to mastering the art of classic lash application. Remember, patience and precision are essential in achieving beautiful and long-lasting lash extensions.


Read the Comments +